Mac meetings / 4 min read
Hide the Dock before a Mac screen share
Turn on Automatically hide and show the Dock in System Settings → Desktop & Dock, or press Option-Command-D. The Dock reappears at its screen edge. Auto-hide changes your desktop; it does not exclude private apps from a screen share.
Hide the Mac Dock with its setting or keyboard shortcut, understand why it returns on hover, and choose a sharing source that fits your presentation.
By ScreenVeilPublished
Hide the Dock using the built-in setting
Open System Settings → Desktop & Dock and enable Automatically hide and show the Dock. Move the pointer away from the Dock’s edge to see the result. Its position can be left, bottom or right, so use the edge configured on your Mac.
Use the shortcut and expect the Dock to return
Option-Command-D toggles the Dock’s visibility behavior. Moving to its screen edge can show it again, including during a full-display share. Full-screen mode is not a guarantee that the Dock can never appear. Rehearse reaching your presentation controls before the call.
Removing an icon does not hide its app
Removing a kept icon from the Dock removes a shortcut, not the installed app or its open windows. Running-app indicators, recent items and notification badges have separate settings. None of these controls redacts the content of a public window.
Choose the sharing boundary separately
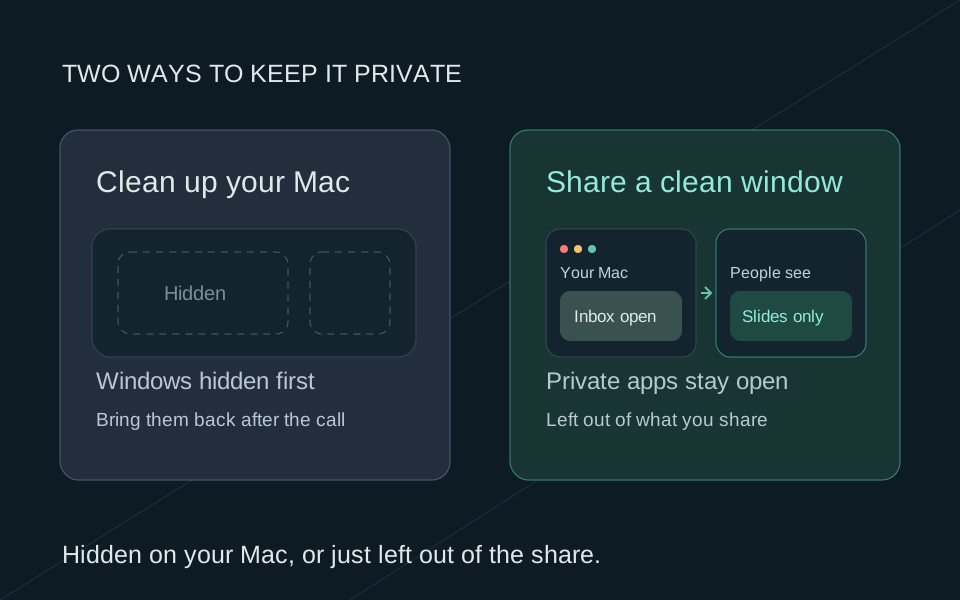
For one presentation, choose its specific window in the meeting app and inspect the received view. If you share a display, any Dock that appears on that display may be included. ScreenVeil filters only the Privacy Screen window selected in the meeting app; it does not filter a separate desktop share.
After the call, restore your preferred Dock setting if you changed it temporarily. If auto-hide is not working, review the setting and keyboard binding before using restart commands or changing unrelated desktop settings.